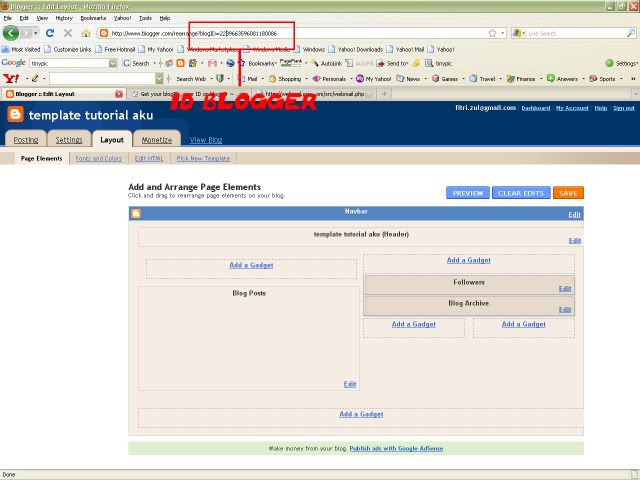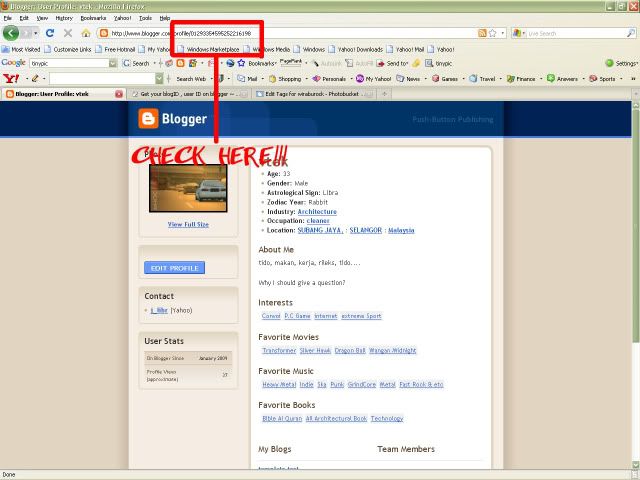
1. Login your blogger account, then click Customize.
2. In Edit Layout page, click to Edit Html.
3. Don't thick Expand Widget Templates.
4. Find following code below (press Ctrl+F):
#header-wrapper {
width:660px;
margin:0 auto 10px;
border:1px solid $bordercolor;
}
Change the highlight in red color width:950px;
5. Find following code below (press Ctrl+F):
#outer-wrapper {
width: 660px;
margin:0 auto;
padding:10px;
text-align:$startSide;
font: $bodyfont;
}
Change the highlight in red color width:950px;
6. Find following code below (press Ctrl+F):
#sidebar-wrapper {
width: 220px;
float: $endSide;
word-wrap: break-word; /* fix for long text breaking sidebar float in IE */
overflow: hidden; /* fix for long non-text content breaking IE sidebar float */
}
Change the highlight in red color width:250px;
7. Next copy this whole section from your template (this is the section we modified in the previous step):
#sidebar-wrapper {
width: 250px;
float: $endSide;
word-wrap: break-word; /* fix for long text breaking sidebar float in IE */
overflow: hidden; /* fix for long non-text content breaking IE sidebar float */
}
Once you have copied this to your clipboard, paste this section of code immedietly beneath the original set of code. Then change this line in your newly pasted code:
#sidebar-wrapper {
To say this instead:
#new-sidebar-wrapper {
However, if you prefer the sidebar to appear to the left of the main posts column, you will need to change the following line:
float: $endSide;
To this instead:
float: $startSide;
This will ensure that your new sidebar will float to the left.
8. Next find following code below (press Ctrl+F):
<div id='crosscol-wrapper' style='text-align:center'>
<b:section class='crosscol' id='crosscol' showaddelement='no'/>
</div>
<!-- Insert code here for left sidebar -->
<div id='main-wrapper'>
<b:section class='main' id='main' showaddelement='no'>
<b:widget id='Blog1' locked='true' title='Blog Posts' type='Blog'/>
</b:section>
</div>
<!-- Insert code here for right aligned sidebar -->
<div id='sidebar-wrapper'>
<b:section class='sidebar' id='sidebar' preferred='yes'>
<b:widget id='BlogArchive1' locked='false' title='Blog Archive' type='BlogArchive'/>
<b:widget id='Profile1' locked='false' title='About Me' type='Profile'/>
</b:section>
</div>
When you have decided where you would like your second sidebar to appear, copy and paste the following section of code in the appropriate place:
<div id='new-sidebar-wrapper'>
<b:section class='sidebar' id='new-sidebar' preferred='yes'/>
</div>
You should save your new template at this point.
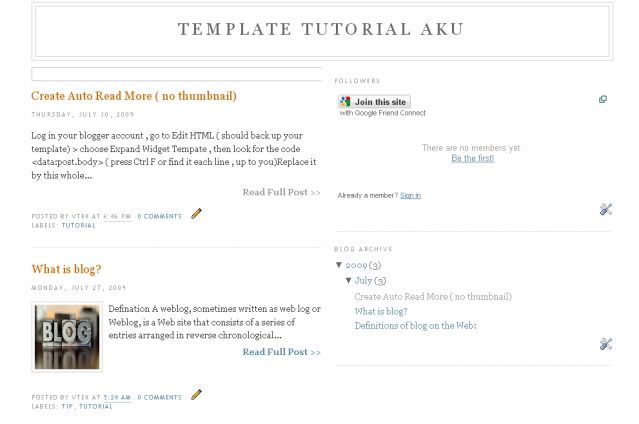
There is currently no content in this second sidebar, so if you preview your blog, nothing will be displayed in it's place. But if you go to Template>Page Elements in your Blogger dashboars, you will see a new "Add page element" section. Here you can add a new widget and take a look at your blog to see how it will be displayed.
Live Demo 1 or Live Demo 2
credit to http://www.bloggerbuster.com


